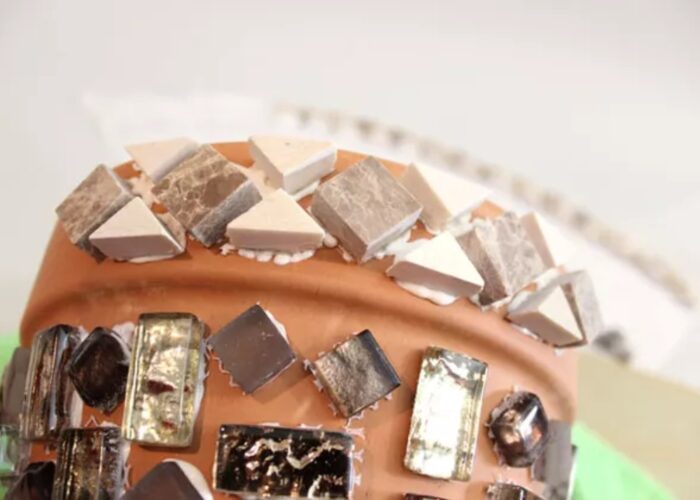
How to make a mosaic plant pot? Creating a mosaic plant pot is a fun and creative project that can add a personal touch to your garden or home decor. Here's a detailed guide on how to make one:

Materials and Tools
- Terracotta or ceramic pot
- Mosaic tiles or broken pieces of ceramic/glass
- Tile adhesive or glue
- Grout
- Sponges and cloths
- Sealer (optional)
- Safety gear: gloves, safety glasses
- Tile nippers (if cutting tiles)
- Grout spreader
- Bucket
- Sponge
- Cloth
- Old towel or newspapers (to protect work surface)
Step-by-Step Instructions
1. Prepare Your Pot
- Clean the pot: Ensure your plant pot is clean and dry before starting.
- Seal the pot: If you're using a terracotta pot, consider sealing it with a water-resistant sealant to prevent moisture from affecting your mosaic.
2. Design Your Mosaic
- Plan your design: Lay out your tiles or broken pieces on a flat surface to plan your design. This step helps you visualize the final look and make adjustments before gluing.
3. Apply the Adhesive
- Spread adhesive: Using a spatula or similar tool, spread tile adhesive on a small section of the pot.
- Place tiles: Press each tile or piece of ceramic/glass into the adhesive, leaving small gaps between pieces for the grout. Work in small sections to ensure the adhesive doesn't dry before placing your tiles.
4. Allow to Dry
- Dry time: Let the adhesive dry completely according to the manufacturer's instructions. This usually takes about 24 hours.
5. Apply the Grout
- Mix grout: Prepare your grout according to the package instructions. It should have a peanut butter-like consistency.
- Spread grout: Using a grout spreader, apply the grout over the tiles, pushing it into the gaps.
- Clean excess grout: Use a damp sponge to wipe off excess grout from the tile surfaces. Rinse the sponge frequently to keep it clean. Be gentle to avoid removing grout from the gaps.
6. Let the Grout Set
- Setting time: Allow the grout to set for the recommended time, usually around 24 hours. During this time, avoid disturbing the pot.
7. Final Cleaning
- Clean tiles: Once the grout has set, use a damp cloth to clean any grout haze from the tile surfaces.
- Polish: Buff the tiles with a dry cloth to make them shine.
8. Seal the Mosaic (Optional)
- Apply sealer: To protect your mosaic from water and dirt, apply a grout sealer according to the manufacturer's instructions. This step is especially important if the pot will be used outdoors.
Tips for Success
- Use contrasting grout: Choose a grout color that contrasts with your tiles to make the design stand out.
- Experiment with shapes and colors: Get creative with different shapes and colors of tiles to create a unique design.
- Protect your work area: Lay down old towels or newspapers to protect your work surface from adhesive and grout.

FAQs
- What type of pot should I use for a mosaic project?
- A terracotta or ceramic pot works best for mosaic projects due to their sturdy surfaces.
- Can I use any type of adhesive for my mosaic plant pot?
- It's best to use a tile adhesive or glue specifically designed for mosaics to ensure the pieces stay in place.
- How do I clean my mosaic plant pot?
- Clean your mosaic plant pot with a damp cloth. Avoid using harsh chemicals that could damage the tiles or grout.
- Do I need to seal my mosaic plant pot?
- Sealing is optional but recommended, especially for outdoor use, to protect the mosaic from water and dirt.

