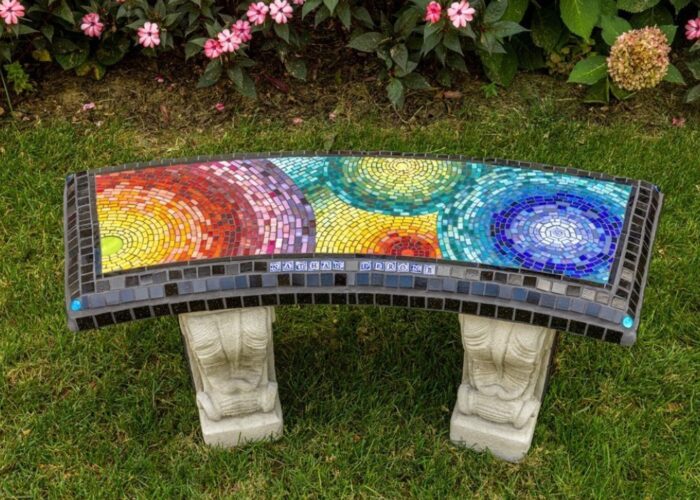
How to make a mosaic bench? Creating a mosaic bench can be a rewarding and artistic DIY project. Here’s a detailed guide to help you through the process:

Materials Needed
- A plain bench (wood or concrete)
- Mosaic tiles (ceramic, glass, or porcelain)
- Tile adhesive
- Grout
- Grout sealer
- Tile nippers
- Safety goggles
- Rubber gloves
- Sponges and cloths
- Buckets
- Notched trowel
- Mixing paddle or stick
- Old towels or rags
- Pencil and paper for design planning
Step-by-Step Instructions
- Plan Your Design:
- Sketch your mosaic design on paper.
- Decide on the colors and patterns you want to use.
- Prepare the Bench:
- Clean the bench thoroughly to remove any dirt or grease.
- If the surface is uneven, sand it down to create a smooth base.
- Wipe down the bench with a damp cloth and let it dry completely.
- Lay Out the Tiles:
- Arrange the tiles on the bench according to your design plan.
- Use tile nippers to cut the tiles to the desired shapes and sizes. Wear safety goggles while cutting tiles.
- Lay out the pieces without adhesive first to ensure your design fits well.
- Apply Tile Adhesive:
- Mix the tile adhesive according to the manufacturer’s instructions.
- Using a notched trowel, spread a thin layer of adhesive on a small section of the bench.
- Press the tiles firmly into the adhesive, following your design layout.
- Let the Adhesive Dry:
- Allow the adhesive to dry completely. This can take up to 24 hours depending on the adhesive used and the climate.
- Apply Grout:
- Mix the grout according to the instructions.
- Use a rubber float to spread the grout over the tiles, pressing it into the gaps between the tiles.
- Wipe off excess grout with a damp sponge, being careful not to remove grout from between the tiles.
- Clean the Tiles:
- After the grout has started to set but is not fully hardened (usually after about 15-20 minutes), wipe the tiles with a damp sponge to remove any remaining grout haze.
- Allow the grout to cure for the time specified by the manufacturer (typically 24-48 hours).
- Seal the Grout:
- Apply a grout sealer to protect your mosaic from moisture and stains.
- Follow the sealer instructions for application and drying times.
- Final Clean-Up:
- Once the sealer is dry, clean the entire bench with a damp cloth to remove any residual grout or adhesive.
- Admire Your Work:
- Place your newly created mosaic bench in your garden, patio, or indoor space, and enjoy your artistic accomplishment.

Tips and Tricks
- Choose a bench with a flat surface for easier application of tiles.
- Use a combination of large and small tiles for a more intricate design.
- Ensure you work in a well-ventilated area, especially when using adhesives and sealers.
- Experiment with different tile shapes, colors, and patterns to create a unique look.

