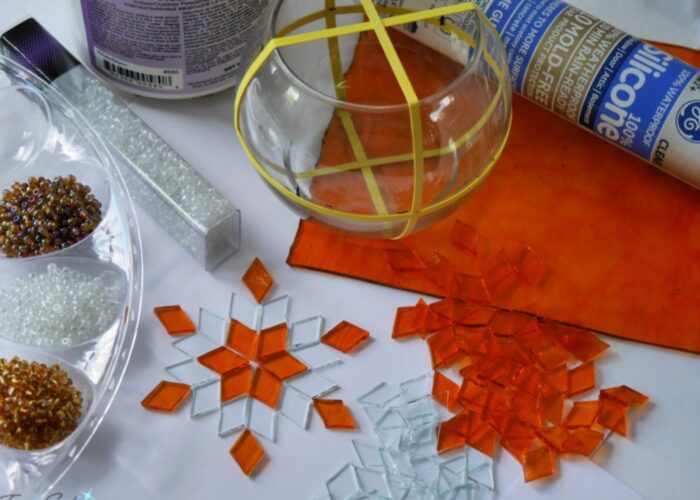
How to make a mosaic candle holder? Creating a mosaic candle holder is a fun and creative project that can add a personal touch to your home decor. Here’s a detailed guide to help you get started:

Materials Needed
- Glass Candle Holder: A plain glass candle holder or jar.
- Glass Mosaic Tiles: Variety of colors and shapes.
- Tile Adhesive: Suitable for glass.
- Grout: In a color of your choice.
- Sponge: For cleaning excess grout.
- Sealant: To protect the grout.
- Paintbrush: For applying adhesive and sealant.
- Safety Gear: Gloves and goggles.
- Tweezers: Optional, for placing small tiles.
- Mixing Bowl and Stick: For mixing grout.
Step-by-Step Instructions
- Preparation
- Clean the Candle Holder: Make sure the surface of the glass candle holder is clean and dry. This ensures that the adhesive will stick properly.
- Organize Your Tiles: Lay out your glass mosaic tiles and decide on a design or pattern.
- Applying the Adhesive
- Spread the Adhesive: Using a paintbrush, apply a thin layer of tile adhesive to a small section of the candle holder. Work in small sections to prevent the adhesive from drying out before you can place the tiles.
- Place the Tiles: Carefully place the mosaic tiles onto the adhesive. Use tweezers for smaller pieces if necessary. Continue this process until the entire surface of the candle holder is covered with tiles.
- Allow Adhesive to Dry
- Let the adhesive dry completely. This can take several hours or as recommended by the adhesive manufacturer.
- Applying the Grout
- Mix the Grout: Follow the instructions on the grout package to mix it to the correct consistency.
- Spread the Grout: Use a spatula or your fingers to spread the grout over the tiles, making sure it fills all the gaps between the tiles. Wear gloves to protect your hands.
- Remove Excess Grout: Use a damp sponge to gently wipe away excess grout from the surface of the tiles. Be careful not to remove grout from the gaps between the tiles.
- Cleaning and Drying
- Final Cleaning: After the grout has partially set, use a slightly damp sponge to clean off any remaining grout haze on the tile surfaces.
- Let It Dry: Allow the grout to dry completely according to the manufacturer’s instructions.
- Sealing the Grout
- Apply Sealant: Once the grout is fully dry, use a paintbrush to apply a grout sealant to protect it from moisture and stains. Follow the sealant manufacturer’s instructions for application and drying times.
- Finishing Touches
- Clean the Holder: Make sure the entire candle holder is clean and free of any grout residue or sealant drips.
- Add a Candle: Place a candle inside your beautiful new mosaic candle holder and enjoy the colorful light it produces!

Additional Tips
- Design Inspiration: Look at various mosaic patterns online or in art books for inspiration.
- Safety First: Always wear gloves and goggles when working with adhesive and grout to protect your skin and eyes.
- Experiment with Colors: Don't be afraid to mix and match different colors and shapes of tiles to create a unique design.

