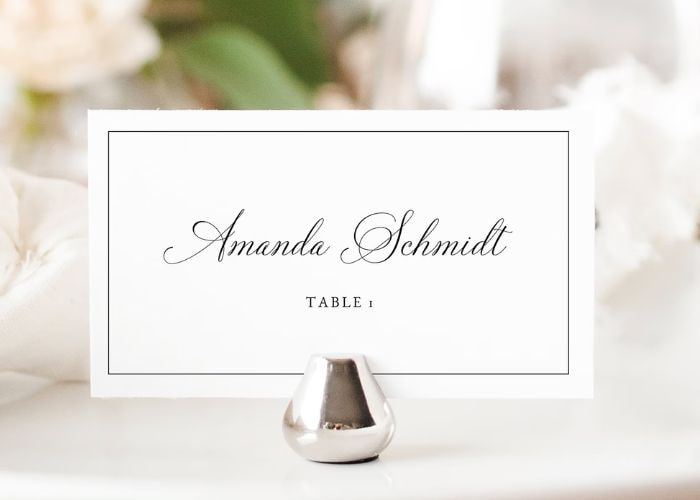
Writing place cards for a wedding involves a few key steps to ensure they are clear, elegant, and fit the theme of the event.

Here’s a step-by-step guide:

Here’s a step-by-step guide:
1. Gather Your Materials
- Place cards: These can be pre-made or DIY, in line with your wedding theme.
- Calligraphy pens or fine-tipped markers: For writing names.
- Optional decorations: Stickers, stamps, or other embellishments.
2. Decide on the Style
- Formal or Casual: Depending on the formality of your wedding, you might choose a formal script or a more casual, handwritten style.
- Consistent Theme: Ensure the place cards match the overall theme and color scheme of your wedding.
3. Compile Your Guest List
- Ensure you have the final, confirmed list of guests.
- Double-check the spelling of each guest’s name.
4. Assign Table Numbers or Names
- If your place cards will also indicate table assignments, decide on the layout. Typically, the guest’s name is larger and centered, with the table number or name smaller and underneath.
5. Write the Place Cards
- Names: Write the guest’s full name. For formal weddings, use titles such as Mr., Mrs., Dr., etc. For casual weddings, first names or first and last names are fine.
- Table Assignments: If applicable, write the table number or name below the guest’s name.
6. Add Decorative Elements
- If desired, add any embellishments like small flowers, stickers, or other decorations that match your theme.
7. Organize and Double-Check
- Alphabetize the place cards for easy setup.
- Double-check for any errors in spelling or table assignments.
Additional Tips
- Practice: If you're handwriting the cards, practice a few times on scrap paper.
- Professional Help: Consider hiring a calligrapher if you want a polished, professional look.
- Print Option: If you have many guests, printing the names might save time and ensure uniformity.

